
Akari solving guide: rule out bulbs before lighting the grid
A satisfying Akari move often begins with deciding where a bulb cannot go. Light Up combines straight rays with exact wall counts, so the brightest-looking placement is not necessarily the correct one. This guide develops a practical checking order for the browser edition available here: read a wall, trace a corridor, then ask how the still-dark squares can receive light. The aim is to understand a move, rather than remember a finished picture.
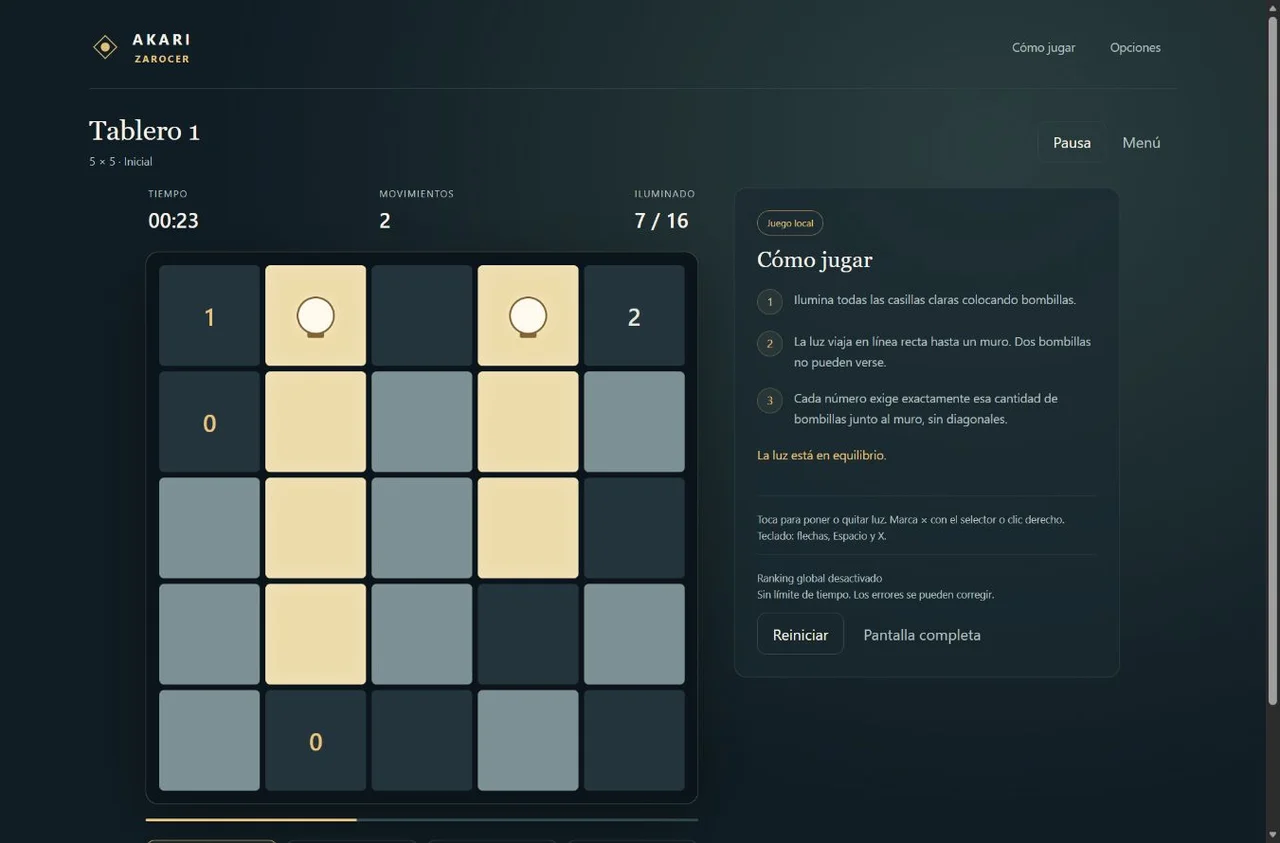
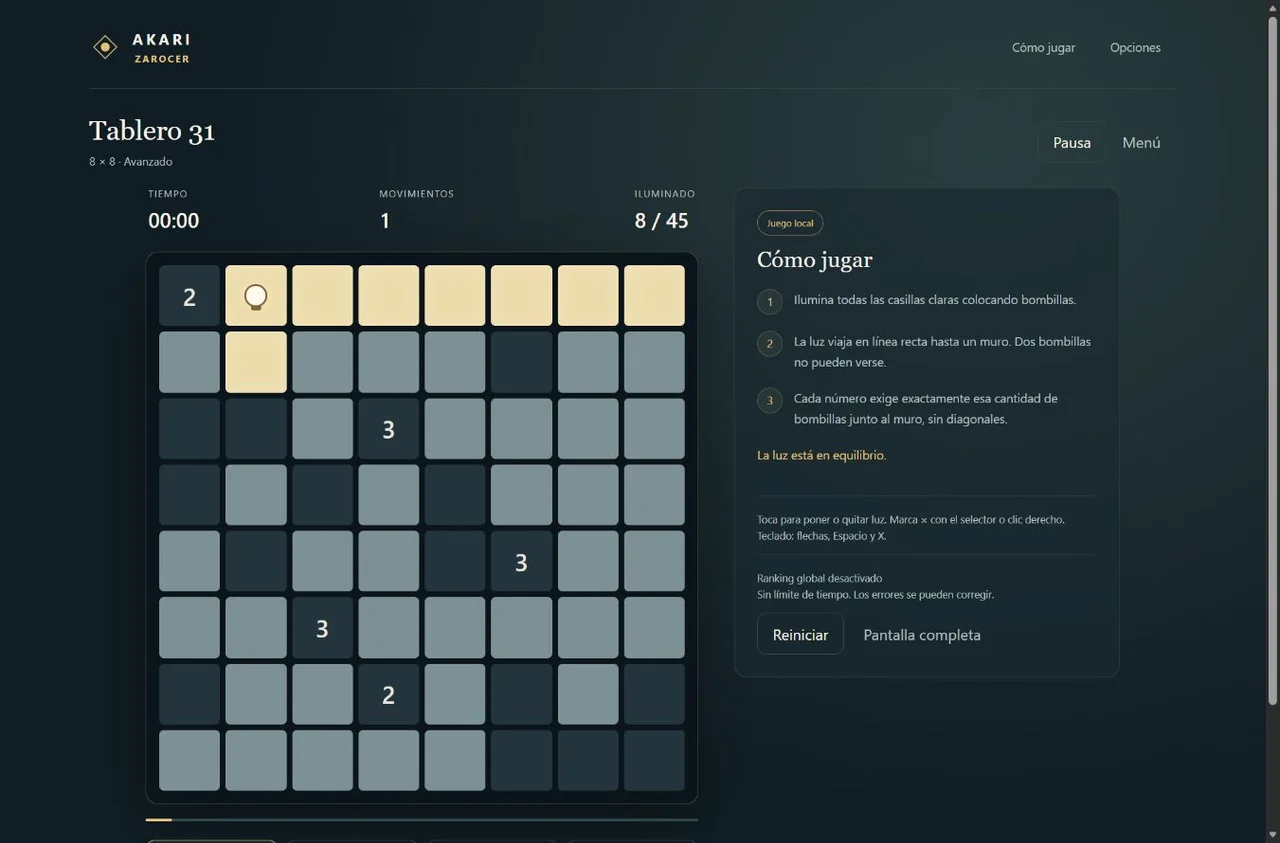
Separate illumination from bulb placement
Put bulbs on pale squares, never on walls. A bulb illuminates itself and sends light horizontally and vertically until a wall or board edge stops it. A bulb does not shine around a corner. More importantly, no two bulbs may face each other along an uninterrupted row or column. Overlapping illumination from different directions can be fine; bulbs seeing one another are not.
A numbered wall supplies an exact count of bulbs in its orthogonally adjacent squares. Diagonal squares are irrelevant to that particular count. A wall marked three needs three adjacent bulbs even if nearby corridors are already bright. Conversely, satisfying every wall does not finish the puzzle if an unlit square remains. Treat wall counts, bulb conflicts and total coverage as three independent checks.
An exclusion mark means that you have ruled out a bulb there. It does not stop a ray and does not remove the square's need for illumination. That distinction is useful whenever a zero creates several excluded squares: their lighting must come from somewhere else, not from ignoring them.
Read the available neighbours, not just the number
A zero makes all its side neighbours unavailable for bulbs. At the other extreme, a wall whose requirement equals its number of available pale neighbours forces those neighbours to contain bulbs. Count the neighbours first. Board edges, ordinary walls, exclusions and existing illumination constraints may reduce the choices that the picture initially appears to offer.
Suppose a three has four pale neighbours. One is already excluded and the other three remain possible. All three remaining positions are required. Now imagine that a bulb already satisfies a one: all other side neighbours of that one can be excluded immediately. These are deductions from exact quantities, not preferences for filling large numbers first.
After completing a wall, trace the effect of every required bulb. Its corridor can remove candidates from another wall farther away. A useful solving rhythm alternates these local counts with the wider consequences of illumination. Leaving one of those passes out makes the same board seem much harder than it is.
Work backwards from a dark square
Choose an unlit square and inspect all places that could shine on it. They lie along its uninterrupted horizontal and vertical segments, including the square itself. Remove places where a bulb would violate a numbered wall or meet an existing bulb. If exactly one candidate remains, that candidate must receive a bulb.
For a small thought experiment, consider a pale square tucked into a corner between walls. It may be visible from only one narrow corridor. If every other position in that corridor is excluded, its own square becomes forced. In a different layout the same corner could be lit from a perpendicular corridor, so do not turn this observation into a universal corner rule.
The reverse test also catches mistakes. If a dark square has no possible source, at least one earlier assumption is wrong. Recheck the nearest exclusion first, then the wall count that produced it. A visibly dark square is evidence of missing coverage; it does not prove that putting a bulb directly on it is legal.
A two-wall deduction to try on paper
Imagine a numbered two with neighbours A, B and C; its fourth side is a wall. A cannot hold a bulb because it lies beside a zero. That leaves B and C, so both are required. Place those two bulbs in the imagined diagram and follow their rays to the next walls. Every other square in either uninterrupted ray becomes unsuitable for an additional bulb.
Next imagine a nearby one whose neighbours include a square D in B's ray and a square E outside both rays. The other two sides are walls. D is ruled out because a bulb there would face B. Therefore E is forced. Notice the difference between this conclusion and saying that E merely looks convenient: the exact count and the ray exclusion remove the alternative.
Finally check whether E faces C. If it does, the imagined starting arrangement is inconsistent, or one of the supposed walls was missing. This final check is not an optional formality. Local deductions can be individually sensible while a misread diagram makes their combination impossible. On a real board, stop and trace the contradictory reasoning before adding more bulbs.
What the available edition actually provides
The Zarocer Light Up edition contains forty original boards from five-by-five to eight-by-eight, an interactive tutorial and a shared UTC-based daily challenge. It has no forced time limit and no penalty for exploring an idea. A larger grid adds more relationships to track; it does not change the meaning of a wall count or allow bulbs to face one another.
Click or tap a pale square to place or remove a bulb. The exclusion tool or desktop right-click marks a square you have rejected. Keyboard players can navigate with arrows, use Space for a light and X for a mark. Larger mobile boards also expose navigation arrows and larger action buttons, which can be more comfortable than repeatedly targeting a tiny square.
Hints and undo count as assistance. Restored games remain local, and personal records are not an active global leaderboard. Use help when it serves your learning, but do not confuse an assisted completion with an independently reconstructed deduction. Saving in this browser does not promise synchronisation to another device or profile.
Recover from a contradiction without restarting
Start with the most recent forced placement and restate its reason. Did the wall need another bulb, or did you overlook one already touching it? Was a potential light source actually blocked by a wall? Did you exclude a square because it was illuminated, then mistakenly treat that exclusion as blocking light passing through it?
Correct the first unsupported conclusion rather than clearing all the useful marks. A genuine zero-based exclusion can survive while a later corridor assumption changes. Undo helps examine the sequence, but the value comes from understanding which condition failed. Taking a moment to explain that condition is usually more productive than making another fast guess.
Once you complete a small board, choose one deduction to carry into the next session. For example, practise looking for a single source of light before asking for a hint. Use the game links below to return to the published build, or compare Hitori and Nurikabe if you enjoy exclusions but want different objectives. Neither puzzle replaces Akari's rays with the same rule under another name.
Keep playing
Every game page lists its current version and controls and offers a fullscreen play view.
Explore the collection: Logic Puzzle Games